How to use Free Image Convert and Resize
This is a clearly free program. There is no spyware or adware.
It's absolutely safe to install and to run!
Step 2. Launch Free Image Convert and Resize

Follow Start > All Programs > DVDVideoSoft > Programs >
Free Image Convert and Resize
or just click the DVDVideoSoft Free Studio icon on the desktop.
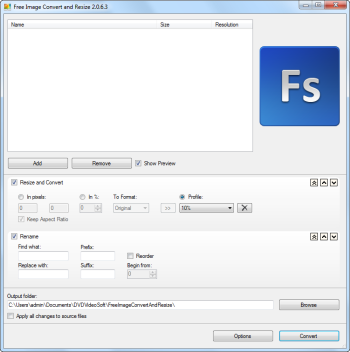
The interface is very simple and self explaining.
Step 3. Select Input Image Files

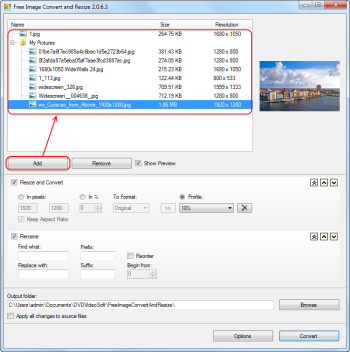
Click the Add button to select an input image file(s) from your computer.
You can select separate images as well as folders containing images in
formats JPG, PNG, BMP, GIF, TGA.
Step 4. Set the Output Image Dimensions and File Format

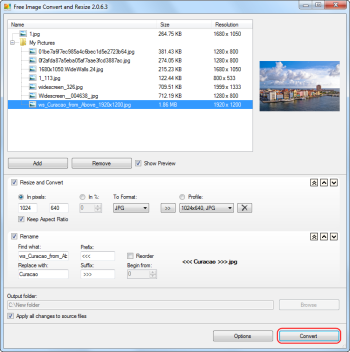
Define the dimensions of the output image by setting height and width
values in the corresponding fields or set percentage for the output
file from the original one.Also select the output format.
You may save these settings to a profile and use them later.
Step 5. Set the Output File Name

You can change the name of the output file or part of it by
putting information in the corresponding fields (use "Find what" and "Replace with").
Moreover, it is possible to add prefix and postfix to the file name.
Output file name pattern is displayed on the right.
Step 6. Select Output Folder

Click the Browse... button and choose the location where you would like to save
your converted video files. Click Ok.
Step 7. Convert Image

Click the Convert button along the bottom of the interface and wait just a few seconds.
Note: Before clicking the Convert button you can set to turn off computer
after the process is completed. Just go to Options... and make sure the appropriate
box is checked.
REFERENCE-http://www.dvdvideosoft.com/guides/free-image-convert-and-resize.htm
No comments:
Post a Comment